Whether you're picking up a pencil to decompress after a long day or looking to transform a simple line drawing into a gallery-worthy masterpiece, the world of adult coloring has undergone a massive glow-up. It's no longer just a childhood pastime; it's a sophisticated art form where community-born "hacks" meet professional rendering techniques.
Today's coloring enthusiasts are pushing the boundaries of the page, using everything from basic colored pencils and alcohol markers to advanced concepts like Atmospheric Perspective and Subsurface Scattering. Whether you want to master the "streak-free" look of a professional marker blend or pull off a mind-bending effect like Cosmic Jelly, this guide is your ultimate roadmap.
We've curated a comprehensive master list that bridges the gap between traditional fine art principles and the most viral trends from the coloring community. Grab your favorite medium, find a cozy spot, and let's dive into the techniques, effects, and styles that will make your next project truly pop.
1. The Foundation: Media-Specific Techniques
Before you can pull off a "Cosmic Jelly," you need to know how to handle your tools. Here is how the pros suggest building your base — depending on whether you're working with colored pencils or alcohol markers.
Colored Pencil Core
| Technique | Description | Best For… |
|---|---|---|
| Burnishing | Applying heavy pressure to fill the paper's tooth with wax/oil. | Shiny, smooth, paint-like surfaces. |
| Scumbling | Small, overlapping circular strokes. | Seamless gradients and soft skin tones. |
| Stippling | Building up value through tiny dots. | Texture like sand, rock, or "glitter" bases. |
| Hatching | Parallel lines (Cross-hatching adds a second perpendicular layer). | Adding directional "grain" or quick shadows. |
| Frottage | Rubbing over a textured surface placed under the paper. | Instant wood grain or leaf patterns. |
The key to all pencil techniques is starting light. Heavy early layers fill the paper's tooth and leave you nowhere to blend. See our full guide to blending colored pencils for a step-by-step walkthrough.
Alcohol Marker Core
- Flick Blending: Starting with heavy pressure and "flicking" the brush tip to create a tapered end. Perfect for hair and fur.
- Tip-to-Tip: Touching a light marker to a dark one to pick up ink for a self-blending gradient.
- Palette Blending: Scribbling ink onto plastic and picking it up with a colorless blender for a "watercolor" wash.
Want to take your markers further? Layering alcohol markers with colored pencils on top is one of the most effective ways to add depth and texture to finished work. Read our complete guide to layering markers and colored pencils.
2. Advanced Optical Effects
These effects rely on the physics of light to create drama and depth that makes pages look three-dimensional.
Atmospheric Perspective
- The Principle: Objects in the distance appear lighter, more muted (greyer), and cooler (bluer).
- How to do it: Use your most vibrant colors in the foreground and transition to pale, desaturated blues for the background.
Glow & Lighting Illusions
- Neon Sign Effect: Outline your subject with a bright neon color. Use a white gel pen on the original black lines to represent the "gas tube." Surround with black to finish the glow.
- Spot Lighting: Color a single "beam" or streak across the page in full color; keep the rest of the page in grey or dark tones.
- Rainbow Spot Lighting / Rainbow Greyscale: Same as spot lighting, but the lit area uses a full rainbow spectrum. Known in the TikTok coloring community as the "rainbow greyscale" or "iridescent" effect.
- TV Glow: Mimic the blue/flickering light cast from a screen onto a character's face.
- Subsurface Scattering: Add a thin, saturated red/orange line where shadows meet highlights on skin to mimic blood beneath the surface.
3. The Community "Cheat Sheet"
These are the specific, creative styles and hacks developed and shared by colorists on communities like r/Coloring and in the Adult Coloring (All Skill Levels Welcome!) Facebook group. Special thanks to u/ColoringxGirlx, u/wharleeprof, u/tehjill, and u/hitemplo for documenting so many of these.
- Cosmic Jelly: A light-colored base with darker, "bean-shaped" blobs inside to create a translucent, alien look. Finished with a white gel pen for a "wet" glaze.
- Transparent Ghosts: Drawing the background lines straight through a character to make them look like a spirit.
- Fuzzy Fur: Color a solid area with markers, then use a colorless blender to "dot" texture back into it. Can also be achieved with a stiff dry brush dragged through fresh ink.
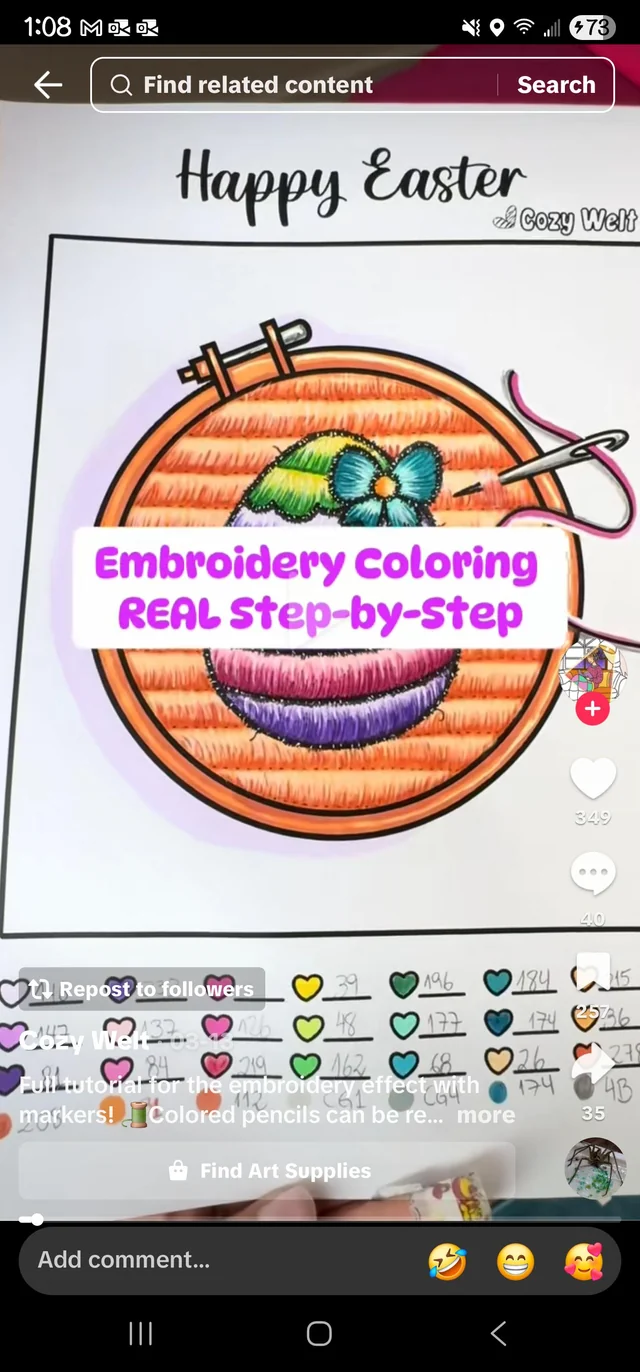
- Needle and Thread / Embroidery: Using tiny, uniform dashes of color to make the page look like it was hand-stitched or cross-stitched.
- Soap Bubbles: Use a colorless blender and faint rainbow rings in a circular motion to create "see-through" bubbles.
- Iridescent Balloons: A pearlescent look using high-contrast pastels and sharp white "pings" of light reflection.

4. Materials & Texture Recipes
Need to color something specific? Use these "recipes" to nail the texture every time.
- Bars of Gold: Deep browns to bright yellows with a tiny sliver of pure white for a "metallic" high-contrast shine.
- Rust Technique: Stippling oranges and dark browns over a grey base to mimic oxidized metal.
- Bricks and Tiles: Color a grey base, draw a grid, and add a shadow on the bottom-left of every brick with a highlight on the top-right.
- Raindrops: Create a tiny dark "C" shape for a shadow and a white dot reflection to make it look like water is sitting on a leaf.
- Stained Glass / Mosaic: Use heavy black outlines and color each section with a flat, vibrant gradient to mimic leaded glass. For a mosaic effect, treat every "tile" as its own tiny flat area.
- Glitter Base: Stipple tiny dots of a lighter color over a base coat, then finish with a white gel pen for sparkle pings.
5. Creative Challenge Formats
If you want to turn this list into a month-long challenge, here are the "rule sets" that the coloring community swears by:
- 1/2/3 Marker Challenge: Limit yourself to 3 markers total and use layering to create depth.
- Character Inspo Palette: Color a page using only colors from a famous character (e.g., Strawberry Shortcake, Barbie, or a favourite movie poster).
- Monochrome / Sepia: Use only shades of one color (blue, green, or brown) for a moody or antique look.
- The "Dice Pick" Challenge: Roll a die to choose your color palette randomly.
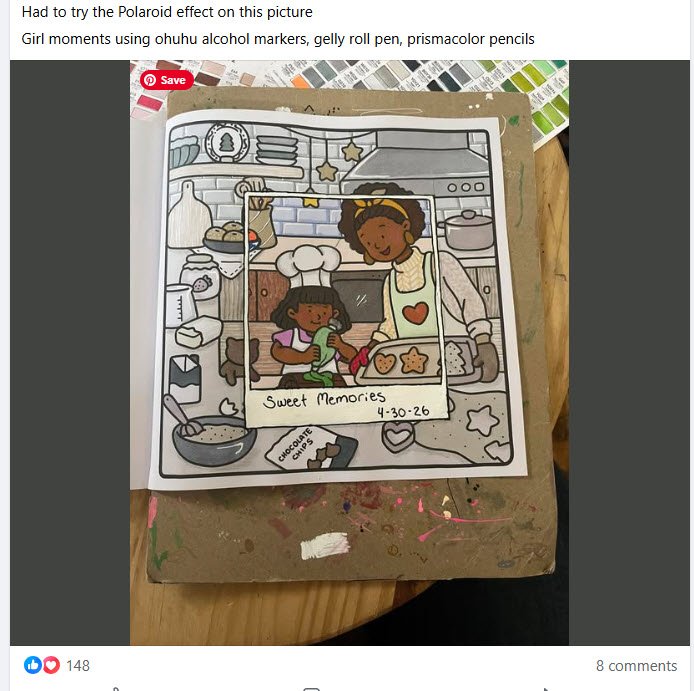
- Polaroid Effect: Color your image but leave a thick white border at the bottom to frame it like an instant photo.
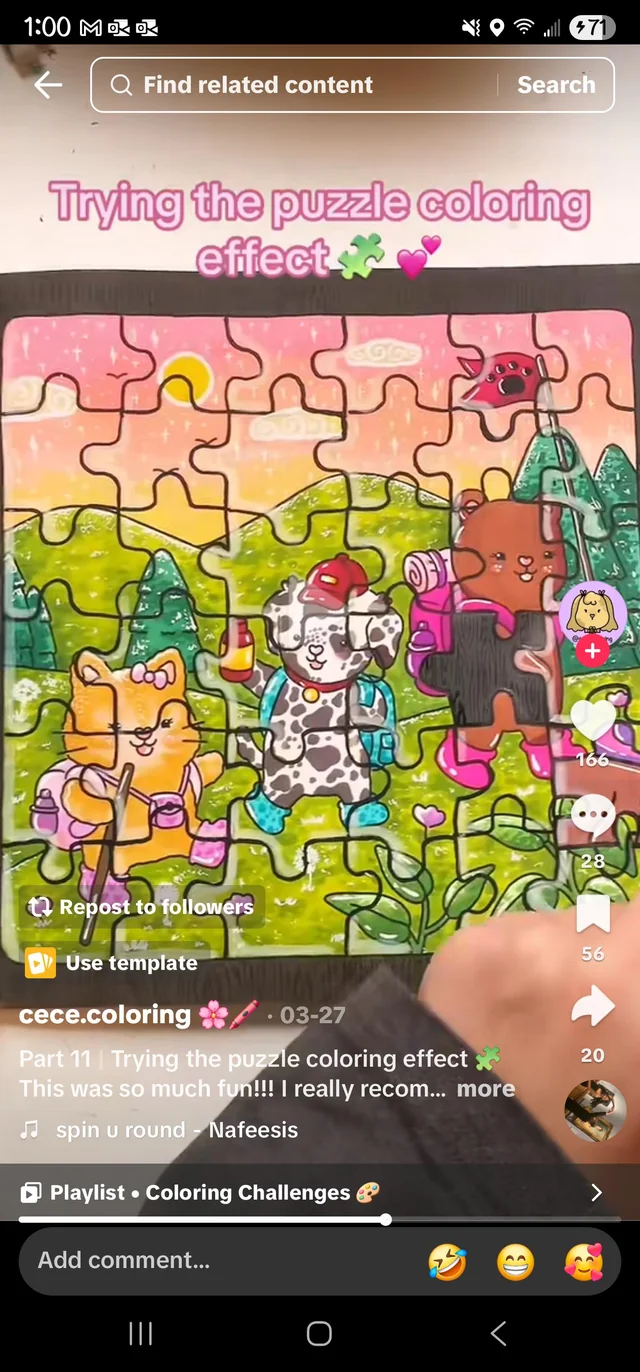
- Puzzle Effect: Draw jigsaw puzzle piece lines across your finished (or in-progress) page before coloring. Each puzzle piece is treated as its own mini scene.
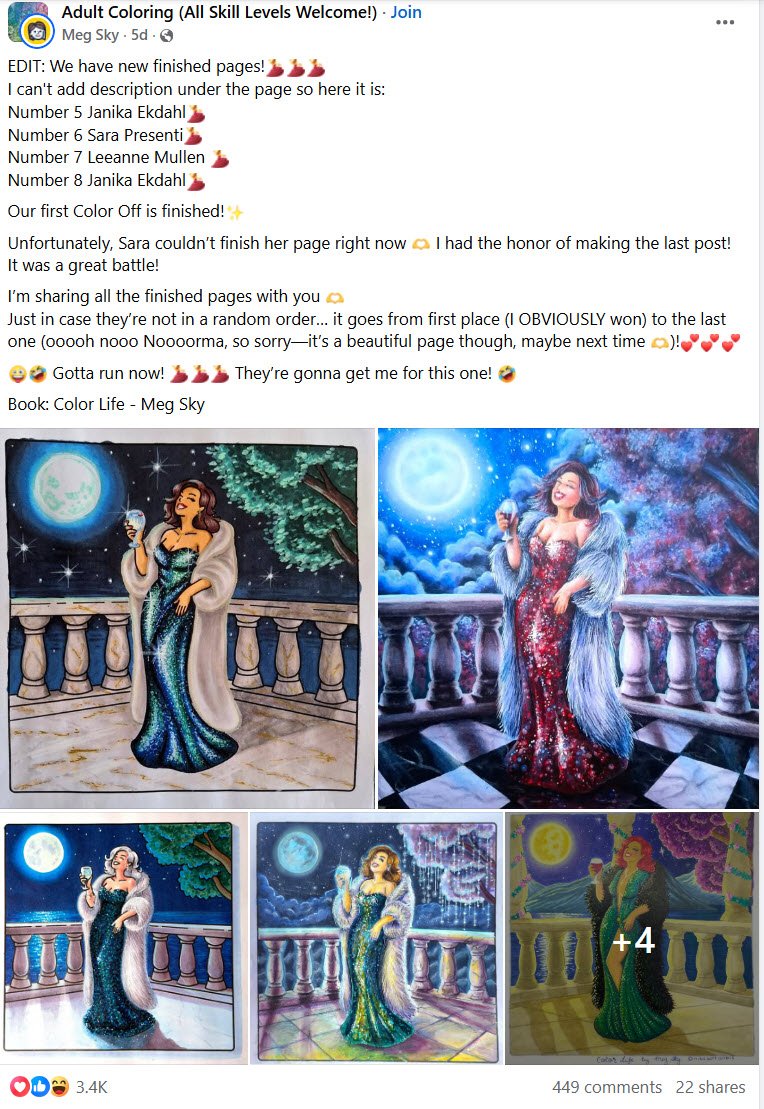
- Color Off / Community Challenge: Color the same page as other community members simultaneously. Compare finished results — the variety is astonishing.
Conclusion
Adult coloring is the perfect bridge between relaxation and professional art. By mixing foundational techniques like burnishing with creative effects like Cosmic Jelly, you aren't just filling in a page — you're creating an original work of art.
Which of these effects are you tackling first? Drop a comment below and let's see your progress! And if you're looking for pages to practice on, browse our library of 1,000+ free printable adult coloring pages — floral, mandala, botanical, and fantasy designs are all excellent for experimenting with these techniques.